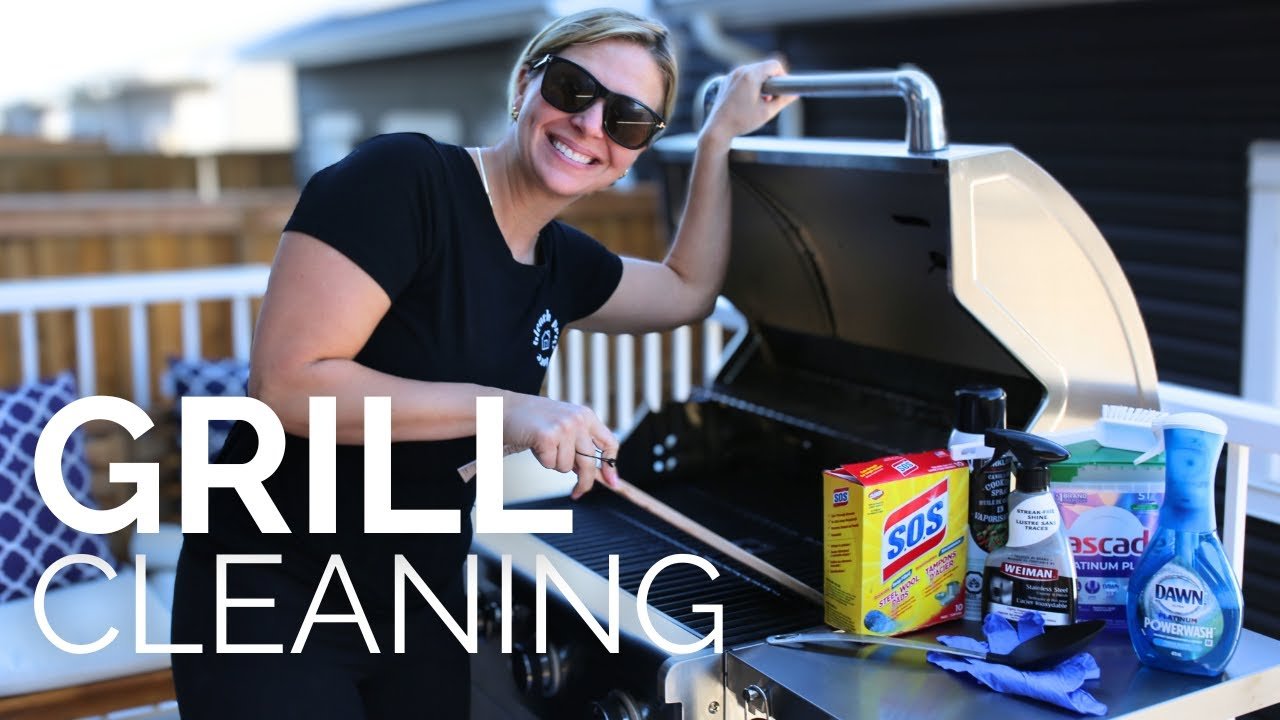
Barbecues have a unique way of bringing people together, creating an opportunity for each individual to contribute to the culinary experience. The end result is often a delectable feast shared in the company of loved ones. However, the euphoria of a successful barbecue can quickly fade when it’s time to confront the aftermath—a messy grill, once the source of mouthwatering food, now requiring a thorough cleaning. But fret not, devoted barbecue enthusiasts; it’s time to get ready and embark on a mission to give your barbecue a complete makeover. Cleaning your grill thoroughly and restoring it to its pristine condition need not be a daunting task. With the right guidance and knowledge, you can tackle this endeavor efficiently and effectively.
Certainly, here’s a comprehensive guide on how to thoroughly clean your BBQ grill:
Gather Supplies

Grill Brush: A grill brush with sturdy bristles is essential for scrubbing away food residue and carbon buildup from the grates.
Bucket of Soapy Water: A bucket filled with warm, soapy water serves as a cleaning solution for removing grease and grime from the grates and other grill components.
Grill Cleaner or Degreaser: Depending on the material of your grill and the level of residue, you may need a specialized grill cleaner or degreaser. Choose a product suitable for your grill’s surface.
Grill scraper: This handy tool assists in removing grease without causing any scratches on your BBQ grill.
Aluminium Foil: Aluminium foil can be used for deep cleaning and scrubbing away stubborn residue on the grill grates and interior surfaces.
Cloth or Paper Towels: These are handy for wiping down the exterior surfaces of the grill and for performing final touches to ensure cleanliness and shine.
Safety Gear: While not a cleaning supply per se, it’s essential to prioritize safety. Wear protective gear such as gloves and safety goggles to shield yourself from any potential splatters or debris during the cleaning process.
Having these supplies readily available will make the task of cleaning your grill more efficient and ensure that you can effectively remove grime and residue, leaving your grill in excellent condition for your next grilling session.
Firing Up the Grill: Cleaning Your BBQ with Heat

The first step in cleaning your BBQ grill is to fire it up! Start by heating the grill to a high temperature with the lid securely closed. Let it reach full temperature and maintain this heat for about 20 minutes. This process will effectively carbonize any food residue and grease on the grill, making them easier to clean with minimal scrubbing in the next stage.
After this, dip a wire brush into a bucket of warm, soapy water and use it to scrub away all the carbon buildup from the grates. Once you’ve finished cleaning, turn off the gas, disconnect and remove the propane tank, and then allow the grill to cool down completely.
Disassemble For Deep Cleaning
Turn Off Gas and Ensure Coolness: Before you embark on cleaning your barbecue, it’s essential to prioritize safety. Start by turning off the gas supply, disconnecting it, and confirming that the barbecue is entirely cool. These precautions help prevent accidents and ensure a safe cleaning process.
Remove Grill Grates: Begin the disassembly process by removing the grill grates. This step allows for better access to the interior of your barbecue, making the cleaning process more thorough and effective.
Detach Flavorizer Bars: Removing the flavorizer bars facilitates a more thorough cleaning of your grill.
Extract the Grease Tray: To access concealed areas and ensure a comprehensive cleaning, don’t forget to extract the grease tray. Removing this tray allows you to effectively address any accumulated grease or debris in those hard-to-reach places.
Lid Removal for Better Access: Even if it’s not overly messy inside, removing the lid can make reaching lower parts easier, especially when the barbecue is positioned on its side.
Take off any other removable components from the grill that are easily detachable. This includes items like burner-control knobs, warming racks, and in the case of gas grills, the removable burner tubes.
By following this disassembly process, you’ll ensure a comprehensive and effective cleaning experience for your barbecue.
Soak It
Place the grates in a bucket filled with warm, soapy water and let them soak for 15-20 minutes, this way you allow any stubborn grime and residue to soften and loosen. This not only simplifies the cleaning task but also ensures that you can effectively remove any remaining dirt and grease, leaving your grates in pristine condition for your next grilling adventure. This step contributes to maintaining your barbecue and enhancing its performance over time.
Perform Interior Cleaning
While the grill grates are still soaking, utilize this time to thoroughly scrub the inside of the grill using a combination of the grill brush and if needed, crumpled aluminum foil to scrub away any accumulated grease, carbon deposits, and food remnants. Pay close attention to areas around the burners and heat deflectors, as these tend to accumulate debris. This meticulous cleaning process guarantees the elimination of any lingering residues, ensuring that your grill is in prime condition for your upcoming grilling adventures. A well-maintained interior not only enhances safety but also contributes to better-tasting grilled dishes.

When using a charcoal grill, it’s essential to dispose of the ashes responsibly. Ensure the ashes have fully cooled before removal. Use a non-combustible container to gather and store the ashes, guaranteeing safe and appropriate disposal. This conscientious ash removal procedure plays a vital role in upholding a clean and secure grilling environment
Scrub, Rinse & Inspect

This process involves using either soapy water or a degreaser, along with a barbecue brush or a sponge equipped with a scouring pad on the back. These tools help you scrub away the old residue, grease, and germs that may have accumulated over time.
It’s important to note that when selecting a brush, opt for one without steel-wire bristles, as these can pose a safety risk if they detach and become lodged in food, potentially causing harm if ingested. To give your grill a thorough cleaning, follow these steps:
Remove and Clean Parts: After completing the soaking, Take out the grates, burner hoods, and grease pan. Scrub them using hot, soapy water and a plastic scour pad. Don’t forget to clean inside the firebox and lid as well. After cleaning, rinse all these components thoroughly and ensure they are completely dry before reassembling.
Inspect Cast-Iron Grates: Pay special attention to cast-iron grates to prevent rusting. Check for any chips and clean them thoroughly. Apply oil to create a protective layer to prevent rust during the seasoning process before your next use.
Rinse Thoroughly: After scrubbing, rinse all surfaces meticulously to remove soap and grime. This ensures cleanliness and safety for your cooking surface, allowing you to enjoy delicious grilled dishes without worries.
Examine Burners: Check your burners for signs of corrosion or blockages in the flame-emitting holes. Spiders can nest in burner tubes if the grill remains unused for extended periods. Use a wire brush to clean the holes and a wire bottle brush to clean the inside of each tube.
Completing these steps will leave your grill grates and burners in optimal condition for your next grilling adventure, ensuring a safe and enjoyable cooking experience.
Exterior Care
While the focus has been on the interior so far, don’t neglect the exterior of your grill. Wipe down the exterior using a cloth or paper towels and a soapy water solution. If you own a stainless steel grill, use a stainless steel cleaner to maintain its shine and appearance. This step not only enhances the aesthetics of your grill but also prevents the accumulation of dirt and grime, ensuring that your barbecue appliance remains clean and visually appealing.
Reassemble Your Grill
With the interior and exterior of your grill thoroughly cleaned, it’s time to put everything back together. Carefully place the clean grates and any other removable parts back in their designated positions. Ensure that everything is securely in place and properly aligned.
Final Touches
For added shine and to remove any remaining moisture, wipe the exterior surfaces of the grill with a dry cloth. This final step not only enhances the grill’s appearance but also helps prevent rust or corrosion.
Those with gas grills, it’s advisable to perform a precautionary check on the propane tank for potential leaks. Gas leaks can pose safety risks, so if you detect any leaks, promptly turn off the gas supply and address the issue to ensure safe grilling experiences. If you own a charcoal grill, consider cleaning out the ash catcher to maintain a tidy and hazard-free grilling environment. These final touches ensure that your grill is in top-notch condition for your next outdoor cooking session.
Regular Maintenance
Maintaining the excellent condition of your grill involves implementing a regular maintenance schedule. Cover your grill when it’s not in use to shield it from the elements, and make it a habit to clean it after every few grilling sessions. This consistent maintenance routine prevents the buildup of stubborn residues, ensuring that your grill remains both safe and fully functional. As a result, it will be primed and ready for your next outdoor culinary adventure.
By diligently following these comprehensive cleaning and maintenance steps, you can anticipate a safe, hassle-free, and flavor-rich grilling experience each time you fire up your BBQ grill. Proper maintenance serves not only to extend the lifespan of your grill but also to elevate your outdoor cooking endeavors to a new level of excellence.


